DIY Leather Car Seat Repair: Tricks and Techniques
Leather car seats are often seen as a luxurious option in vehicles, providing comfort and elegance. However, they are also susceptible to wear, tear, and damage over time. From scratches and cracks to discoloration and rips, leather seats can face various issues that may detract from the overall appearance of your car. Fortunately, many of these problems can be addressed through DIY leather car seat repair techniques. This article explores some effective tricks and techniques for repairing leather car seats, ensuring your vehicle looks its best without breaking the bank.
Understanding Leather Damage
Before diving into repair techniques, it’s essential to understand the types of damage that leather seats can sustain. Common issues include:
- Scratches: Surface abrasions caused by sharp objects or friction.
- Cracks: Deep fissures that can develop due to dryness or aging.
- Rips and Tears: Significant damage often caused by excessive pulling or impact.
- Discoloration: Fading or staining from spills, UV exposure, or general wear.
Identifying the type of damage is crucial for choosing the right repair method.
Essential Tools and Materials

Before embarking on a DIY leather repair project, gather the following tools and materials:
- Leather cleaner
- Leather conditioner
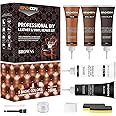
- Leather repair kit (includes patches, adhesive, and color compounds)
- Fine-grit sandpaper
- Soft cloths
- Heat gun or hairdryer (for drying and setting)
- Protective gloves
Having these tools on hand will streamline the repair process and ensure optimal results.
Repair Techniques for Common Issues

1. Fixing Scratches

Scratches are one of the easiest leather damages to repair. Follow these steps:
- Clean the scratched area with a leather cleaner to remove dirt and oils.
- Apply a leather conditioner to restore moisture and flexibility.
- For deeper scratches, use a leather repair compound that matches the color of your seat. Apply it with a fine brush and smooth it out.
- Allow the compound to dry completely, then buff lightly with a soft cloth.
Many users report that simple color-matching compounds can make scratches virtually disappear.
2. Repairing Cracks

Cracks can be more challenging but can be effectively repaired with the right approach:
- Start by cleaning the area with a leather cleaner.
- Use fine-grit sandpaper to gently sand the cracked surface, which helps the repair compound adhere better.
- Apply a leather filler or repair compound into the crack. Use a spatula or a similar tool to push the filler in deeply.
- Once the filler is dry, sand it down to create a smooth surface.
- Finish by applying a leather dye that matches your car seat color.
Case studies show that homeowners who regularly condition their leather can significantly reduce the likelihood of developing cracks.
3. Mending Rips and Tears
Rips and tears require a more involved repair process:
- Clean the area thoroughly and assess the tear’s size.
- If the tear is small, you can use a leather glue. For larger tears, cut a leather patch from a similar material.
- Insert the patch behind the tear and apply leather adhesive to the patch and the edges of the tear.
- Press the tear together firmly and hold it in place with clamps or weights until it sets.
- Once dry, use a leather dye to blend the patch with the surrounding area.
Statistics indicate that up to 70% of leather repairs can be tackled successfully with DIY techniques when proper materials and methods are used.
4. Addressing Discoloration

Discoloration can stem from spills or prolonged exposure to sunlight. Here’s how to address it:
- Clean the affected area with a gentle leather cleaner.
- Apply a specialized leather dye or colorant that matches your seat color. This can come in a spray or bottle form.
- Follow the manufacturer’s instructions for application, typically involving multiple thin layers.
- Finish by applying a leather conditioner to restore moisture and shine.
Regular conditioning can prevent discoloration, with many owners noting that maintenance routines are key to prolonging the life of leather seats.
Preventative Measures

Repairing leather is essential, but prevention is even more crucial. Consider the following tips to maintain your leather car seats:
- Regularly clean and condition your leather seats to prevent dryness and cracking.
- Avoid exposing leather seats to direct sunlight for extended periods.
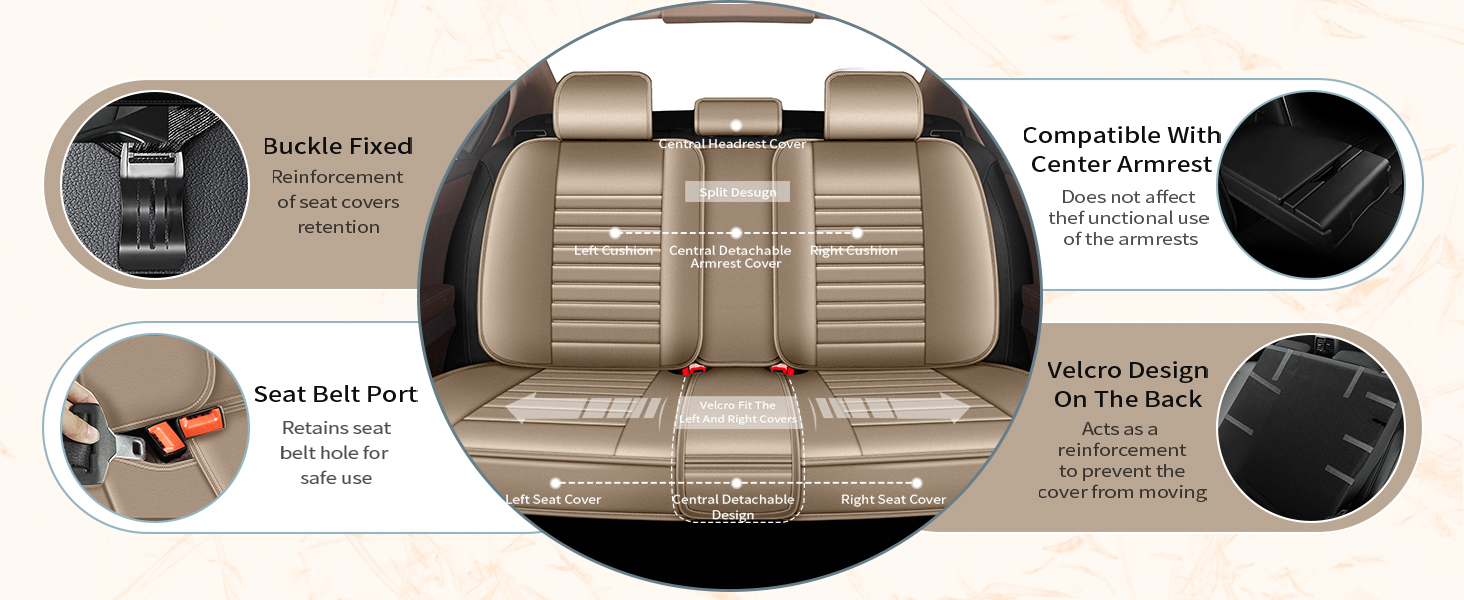
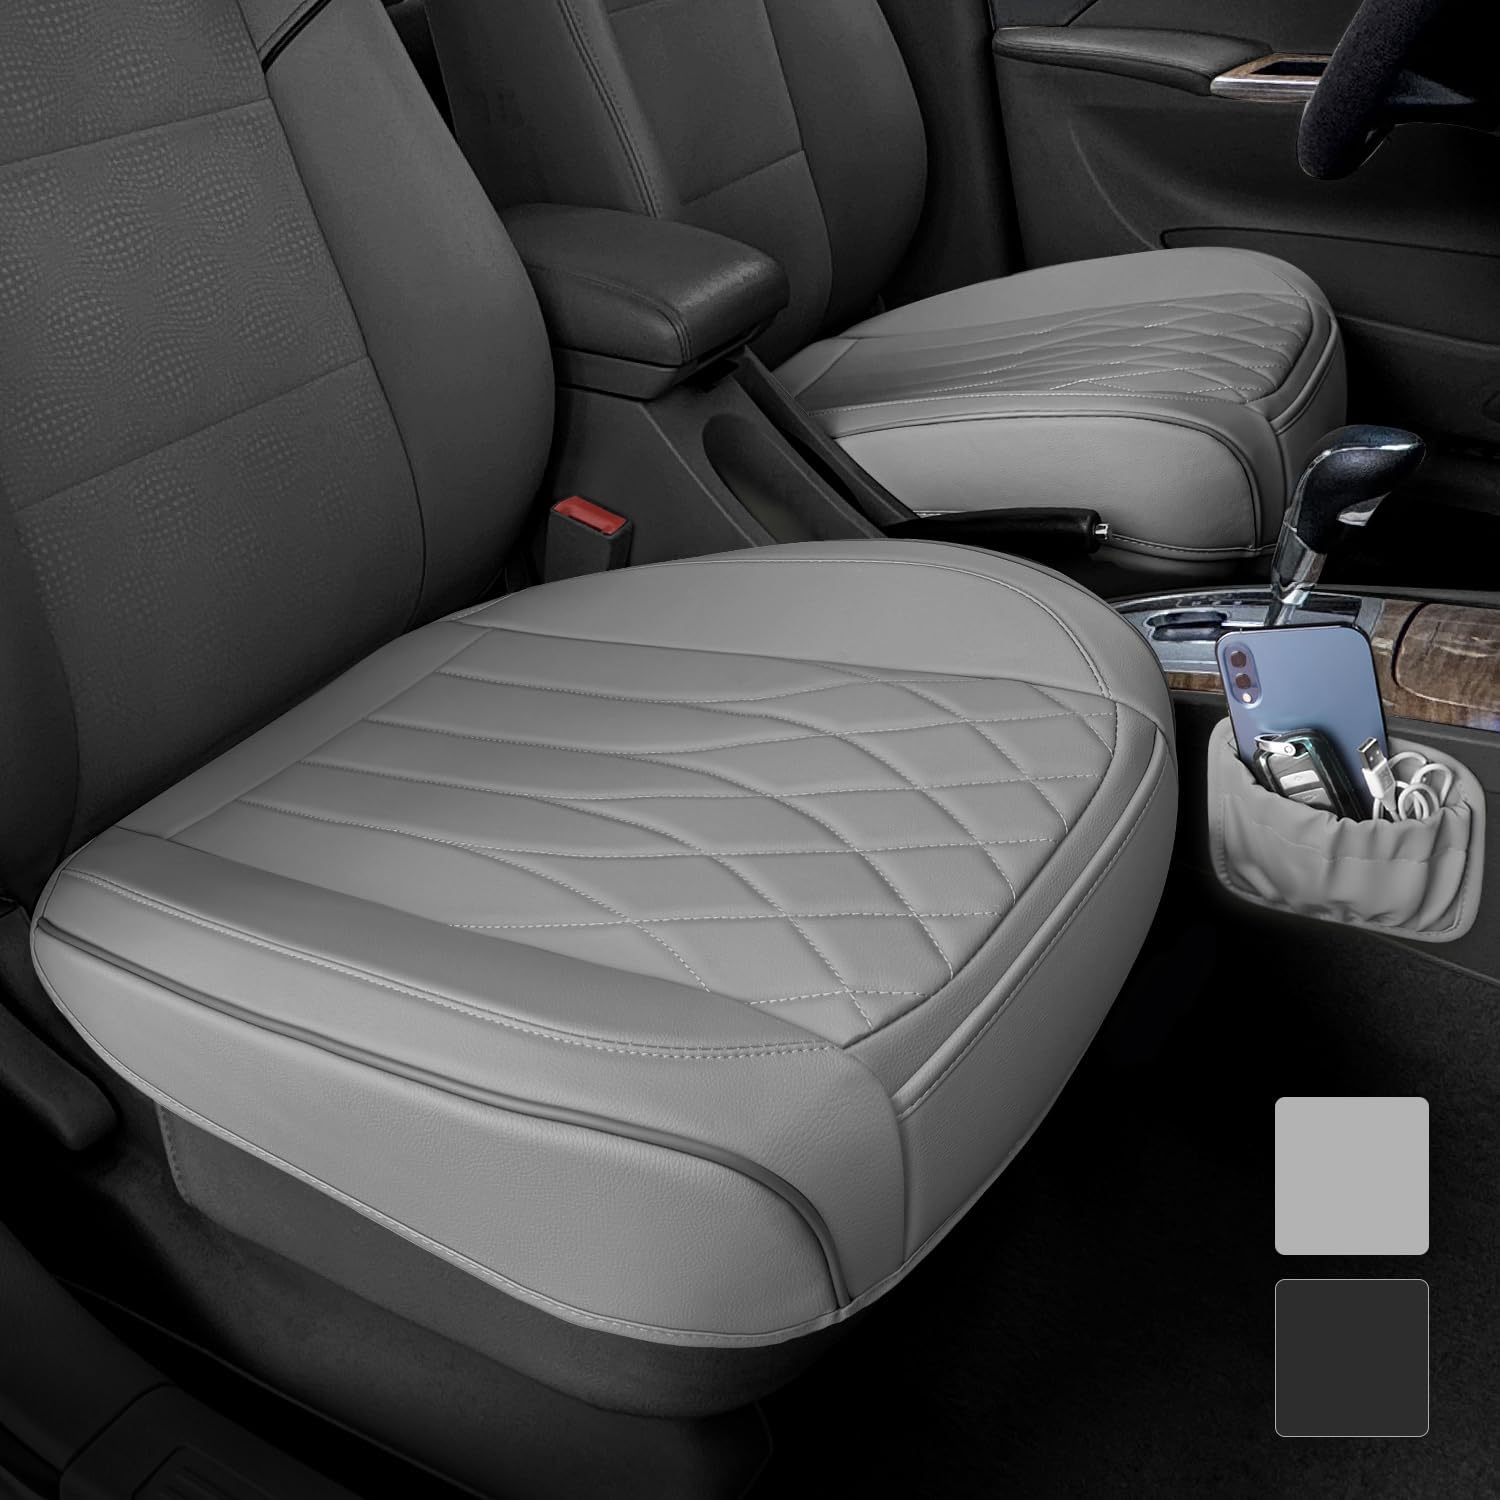
- Use seat covers or protectors during heavy use or when transporting pets.
- Address spills immediately; blot the area with a soft cloth instead of rubbing it in.
- Keep sharp objects away from leather surfaces to minimize scratches.
By implementing these preventative measures, you can significantly extend the life of your leather car seats.
Repairing leather car seats doesn’t have to be a daunting task. With the right tools, materials, and techniques, you can address common issues like scratches, cracks, rips, and discoloration effectively. The DIY methods outlined in this article empower car owners to take control of their vehicle’s aesthetics without incurring hefty repair costs. Remember, regular maintenance is key to preventing damage and preserving the luxurious feel of your leather seats. By following these tips and techniques, you can ensure your car’s interior remains in prime condition for years to come.


